| 0 Comments | Ndulue Vincent

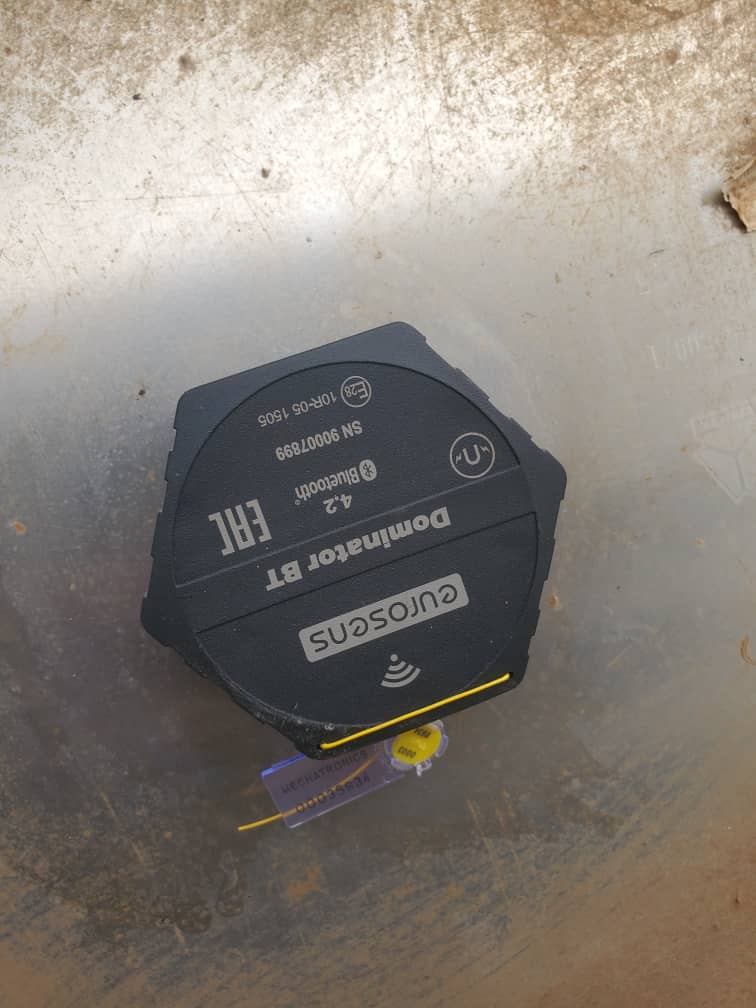
Fuel management has been revolutionized by wireless technologies, and the Eurosens Dominator BT fuel sensor is a leading example. Powered by Bluetooth 4.2, it offers accurate fuel level data without the need for wiring, simplifying installation and operation. In this guide, we’ll walk you through the installation process of the Eurosens Dominator BT.
What You’ll Need
To get started, ensure you have the following:
- Eurosens Dominator BT fuel sensor
- Bluetooth-enabled tracking device (e.g., Teltonika FMB125 or FMB920)
- Drilling and mounting tools
- Adhesive sealant
- Calibration tools or the Eurosens mobile app
- PPE (gloves, goggles, etc.)
Step 1: Choose the Installation Location
- Identify an optimal, flat area on the fuel tank for the sensor.
- Ensure the surface is clean and free from dirt, oil, or rust.
Step 2: Prepare the Tank
- Empty the fuel tank or reduce the fuel level to minimize spillage risk.
- Thoroughly clean the area where the sensor will be installed.
Step 3: Drill the Mounting Hole
- Carefully drill a hole in the designated spot on the tank, following the dimensions provided in the Dominator BT’s manual.
- Smooth the edges of the hole to prevent sensor damage.
Safety Tip: Use appropriate PPE and work in a well-ventilated area.
Step 4: Install the Eurosens Dominator BT Sensor
- Insert the sensor into the drilled hole.
- Seal the edges using adhesive to prevent air or fuel leaks.
- Secure the sensor with screws for a tight fit.
Step 5: Pair the Sensor via Bluetooth 4.2
- Power on the Bluetooth-enabled GPS device (e.g., Teltonika FMB125).
- Open the Eurosens mobile app or compatible software on your smartphone or computer.
- Search for the Dominator BT device and complete the pairing process.
- Follow the app’s instructions to configure the sensor settings.
Step 6: Calibrate the Sensor
- Gradually fill the fuel tank, taking readings at each level using the Eurosens app.
- Align the sensor’s data with the actual fuel levels recorded.
- Save the calibration data for accurate fuel tracking on your fleet management platform.
Step 7: Verify and Test the System
- Start the vehicle and check for fuel level data transmission to your tracking platform.
- Test for accurate readings and ensure no connectivity issues exist.
- Confirm that the sensor integrates seamlessly with your fleet management system.
Benefits of the Eurosens Dominator BT
- Wireless Design: Simplifies installation with Bluetooth 4.2 connectivity.
- Precision Tracking: Offers real-time and accurate fuel data.
- Anti-Theft Protection: Detects sudden fuel level changes.
- Energy Efficient: Optimized for low power consumption.
Conclusion
The Eurosens Dominator BT is a smart solution for fuel management, combining ease of installation with advanced features. By eliminating wiring, it reduces installation complexity and enhances reliability.
Need help with installation or integration? At GPSFleetmatic, we provide expert installation services and support for all your fleet management needs. Contact us today to get started!
For more updates and insights, visit our blog at gpsfleetmatic.com.
0 comment(s) for "How to Install the Eurosens Dominator BT Fuel Sensor: A Bluetooth 4.2 Solution"
Leave a Reply